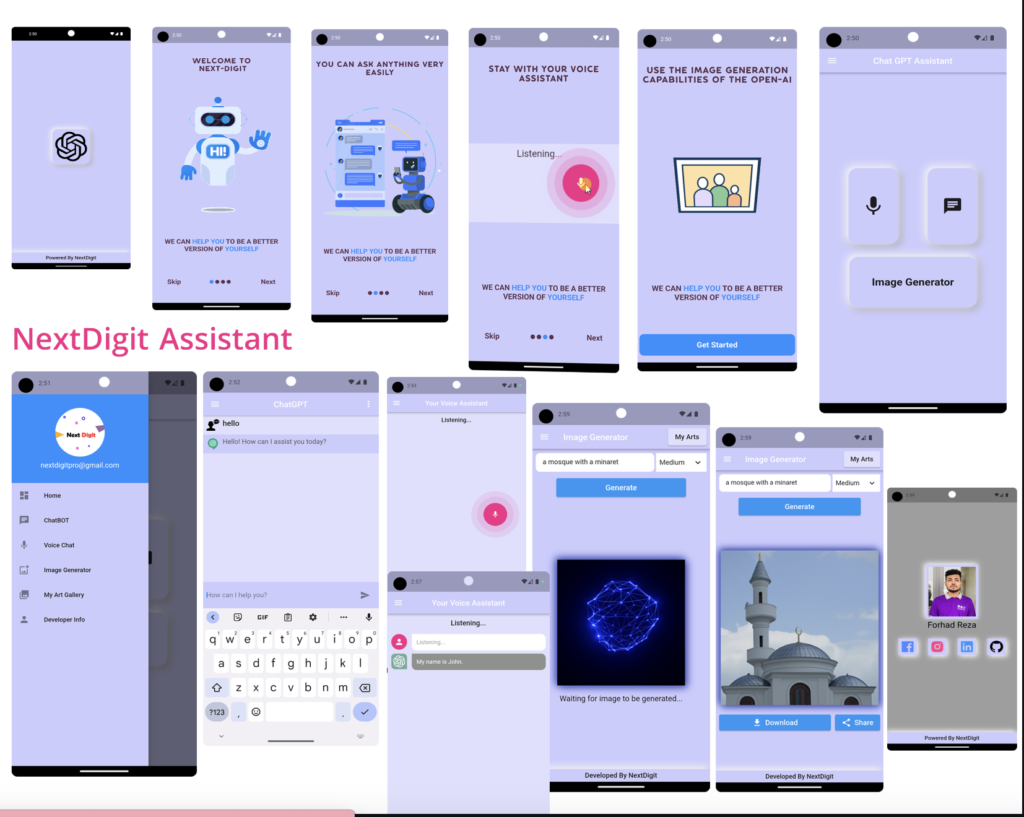
Creating a ChatGPT app in Flutter involves setting up a basic Flutter project, integrating with the OpenAI API, and designing a user interface that can handle chat messages. Below is a stepwise guide to help you build a basic ChatGPT app in Flutter with source code.
Step 1: Set Up Your Flutter Project
If you haven't already, start by creating a new Flutter project.
flutter create chatgpt_app
cd chatgpt_app
Step 2: Add Necessary Dependencies
Add the http package to your pubspec.yaml file for making HTTP requests.
dependencies:
  flutter:
    sdk: flutter
  http: ^0.13.3
Run flutter pub get to install the dependencies.
Step 3: Create a Chat Screen UI
Create a new file called chat_screen.dart in the lib directory.
touch lib/chat_screen.dart
In this file, design the basic UI for the chat screen:
import 'package:flutter/material.dart';

class ChatScreen extends StatefulWidget {
  @override
  _ChatScreenState createState() => _ChatScreenState();
}

class _ChatScreenState extends State<ChatScreen> {
  final TextEditingController _controller = TextEditingController();
  final List<Map<String, String>> _messages = [];

  void _sendMessage(String message) {
    if (message.isEmpty) return;

    setState(() {
      _messages.add({"role": "user", "content": message});
      _controller.clear();
    });

    // Call the OpenAI API here and add the response to the messages
    _getResponse(message);
  }

  Future<void> _getResponse(String prompt) async {
    // Placeholder function to get a response from ChatGPT
    // You'll implement the API call in the next step
  }

  @override
  Widget build(BuildContext context) {
    return Scaffold(
      appBar: AppBar(
        title: Text("ChatGPT"),
      ),
      body: Column(
        children: [
          Expanded(
            child: ListView.builder(
              itemCount: _messages.length,
              itemBuilder: (context, index) {
                final message = _messages[index];
                return ListTile(
                  title: Align(
                    alignment: message["role"] == "user"
                        ? Alignment.centerRight
                        : Alignment.centerLeft,
                    child: Container(
                      padding: EdgeInsets.all(10),
                      decoration: BoxDecoration(
                        color: message["role"] == "user"
                            ? Colors.blue
                            : Colors.grey.shade200,
                        borderRadius: BorderRadius.circular(10),
                      ),
                      child: Text(
                        message["content"]!,
                        style: TextStyle(color: message["role"] == "user" ? Colors.white : Colors.black),
                      ),
                    ),
                  ),
                );
              },
            ),
          ),
          Padding(
            padding: const EdgeInsets.all(8.0),
            child: Row(
              children: [
                Expanded(
                  child: TextField(
                    controller: _controller,
                    decoration: InputDecoration(
                      hintText: "Type a message...",
                      border: OutlineInputBorder(
                        borderRadius: BorderRadius.circular(12),
                      ),
                    ),
                  ),
                ),
                IconButton(
                  icon: Icon(Icons.send),
                  onPressed: () => _sendMessage(_controller.text),
                ),
              ],
            ),
          ),
        ],
      ),
    );
  }
}
Step 4: Integrate OpenAI API
To interact with ChatGPT, you'll need to make API requests to OpenAI's API. For this, create a new file called openai_service.dart in the lib directory.
touch lib/openai_service.dart
In this file, define the service that will handle the API requests:
import 'dart:convert';
import 'package:http/http.dart' as http;

class OpenAIService {
  final String apiKey;

  OpenAIService(this.apiKey);

  Future<String> generateResponse(String prompt) async {
    const apiUrl = 'https://api.openai.com/v1/completions';

    final response = await http.post(
      Uri.parse(apiUrl),
      headers: {
        'Content-Type': 'application/json',
        'Authorization': 'Bearer $apiKey',
      },
      body: jsonEncode({
        "model": "text-davinci-003",
        "prompt": prompt,
        "max_tokens": 150,
        "temperature": 0.7,
      }),
    );

    if (response.statusCode == 200) {
      final data = jsonDecode(response.body);
      return data['choices'][0]['text'].trim();
    } else {
      throw Exception('Failed to load response');
    }
  }
}
Step 5: Connect the Chat Screen to OpenAI API
Update your chat_screen.dart file to use the OpenAIService:
import 'package:flutter/material.dart';
import 'openai_service.dart';

class ChatScreen extends StatefulWidget {
  @override
  _ChatScreenState createState() => _ChatScreenState();
}

class _ChatScreenState extends State<ChatScreen> {
  final TextEditingController _controller = TextEditingController();
  final List<Map<String, String>> _messages = [];
  final OpenAIService _openAIService = OpenAIService('your-api-key-here');

  void _sendMessage(String message) {
    if (message.isEmpty) return;

    setState(() {
      _messages.add({"role": "user", "content": message});
      _controller.clear();
    });

    _getResponse(message);
  }

  Future<void> _getResponse(String prompt) async {
    try {
      final response = await _openAIService.generateResponse(prompt);

      setState(() {
        _messages.add({"role": "assistant", "content": response});
      });
    } catch (e) {
      setState(() {
        _messages.add({"role": "assistant", "content": "Error: $e"});
      });
    }
  }

  @override
  Widget build(BuildContext context) {
    return Scaffold(
      appBar: AppBar(
        title: Text("ChatGPT"),
      ),
      body: Column(
        children: [
          Expanded(
            child: ListView.builder(
              itemCount: _messages.length,
              itemBuilder: (context, index) {
                final message = _messages[index];
                return ListTile(
                  title: Align(
                    alignment: message["role"] == "user"
                        ? Alignment.centerRight
                        : Alignment.centerLeft,
                    child: Container(
                      padding: EdgeInsets.all(10),
                      decoration: BoxDecoration(
                        color: message["role"] == "user"
                            ? Colors.blue
                            : Colors.grey.shade200,
                        borderRadius: BorderRadius.circular(10),
                      ),
                      child: Text(
                        message["content"]!,
                        style: TextStyle(color: message["role"] == "user" ? Colors.white : Colors.black),
                      ),
                    ),
                  ),
                );
              },
            ),
          ),
          Padding(
            padding: const EdgeInsets.all(8.0),
            child: Row(
              children: [
                Expanded(
                  child: TextField(
                    controller: _controller,
                    decoration: InputDecoration(
                      hintText: "Type a message...",
                      border: OutlineInputBorder(
                        borderRadius: BorderRadius.circular(12),
                      ),
                    ),
                  ),
                ),
                IconButton(
                  icon: Icon(Icons.send),
                  onPressed: () => _sendMessage(_controller.text),
                ),
              ],
            ),
          ),
        ],
      ),
    );
  }
}
Step 6: Set Up Your API Key
Replace 'your-api-key-here' with your actual OpenAI API key in the OpenAIService constructor.
Step 7: Run the App
Update your main.dart file to use the ChatScreen widget:
import 'package:flutter/material.dart';
import 'chat_screen.dart';

void main() {
  runApp(MyApp());
}

class MyApp extends StatelessWidget {
  @override
  Widget build(BuildContext context) {
    return MaterialApp(
      debugShowCheckedModeBanner: false,
      home: ChatScreen(),
    );
  }
}
Run your app:
flutter run
Step 8: Test the ChatGPT App
Once the app is running, you can type messages and interact with ChatGPT. The app will send your message to the OpenAI API and display the response in the chat UI.
Customizations
This guide provides a basic implementation of a ChatGPT app in Flutter, which you can expand and customize based on your needs.
Output
Here is the image of the ChatGPT app's chat interface as described in the code.
Related Articles